Tiny Inclinometer
by TinyCircuits
Today we will be building an Inclinometer using four of our boards that will effectively demonstrate the basic functionality of the 7 segment and accelerometer shields. This fun little demo will tell us the angle of the board in respect to gravity. Now that you know whats up, lets get started! View downloadable files and more at Instructables.
Step 1: Set Up

To kick things off, you will need the boards and the software. The Arduino IDE will be the first thing to download if you have not done so already. When the IDE has been loaded go to tools, board, and select Arduino Pro or Pro Mini (3.3V, 8MHz) w/ ATmega328. We also need to add two libraries in order for the software to work properly.
Materials
Materials
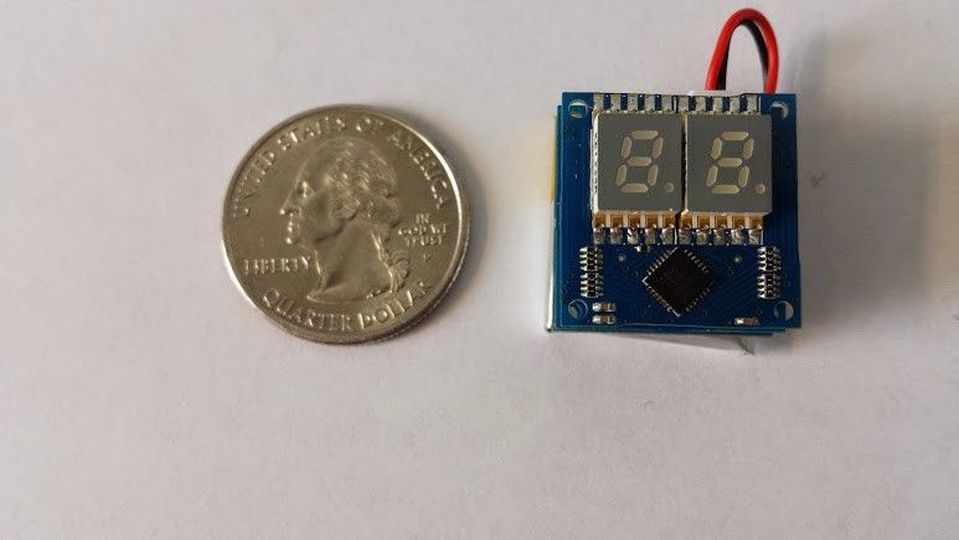
- TinyDuino Processor
- TinyShield 7 Segment Display
- TinyShield Accelerometer
- TinyShield USB&ICP
- 3.3 or 5V power source
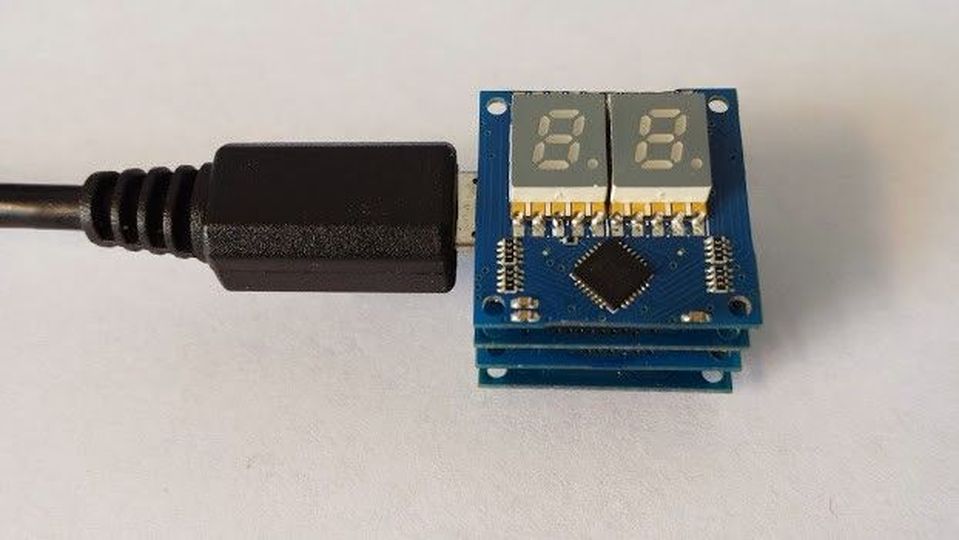
Step 2: Assembly
Now that we are all squared away with the materials and downloads, lets move on to the hardest part: the assembly. Grab your four boards and get ready for some serious instructions...Ready? Stack the boards together and plug in the USB cord. Due to the amount of difficulty the assembly requires, it would be completely understandable if this step took anywhere from 10 to 15 minuets.
Step 3: Programming the Boards
Ok, we got through the assembly, time to move on to the actual code we will be uploading to the TinyDuino. First things first, we need to include Wire.h, BMA250.h, and Tiny7Seg.h. The code below can be directly uploaded to your TinyDuino.
/*
TinyDuino Accelerometer & 7Segment display Demo

This example code is in the public domain.

January 12, 2015 by Tony Batey

https://tiny-circuits.com/

*/

#include "Wire.h"
#include "BMA250.h"
#include "Tiny7Seg.h"

BMA250 accel;
Tiny7Seg seg;

void setup()
{
  Wire.begin();
  seg.init();                                              //This initializes the I/O expander on the 7 segment display
  accel.begin(BMA250_range_2g, BMA250_update_time_64ms);    //This sets up the BMA250 accelerometer
}

void loop()
{
  accel.read();                                          //This function gets new data from the accelerometer
  float angle = atan2(accel.Y, accel.X) * 180.0/PI;      //math to calculate the angle from the sensor readings
  angle = constrain(angle-90.0,-90.0,90.0);              //We only want angles from -90 to 90
  seg.printInt(abs(angle));                              //Then, we'll just display the absolute value
  delay(100);                                            //We'll make sure we're over the 64ms update time set on the BMA250
}
Step 4: Let the Magic Happen
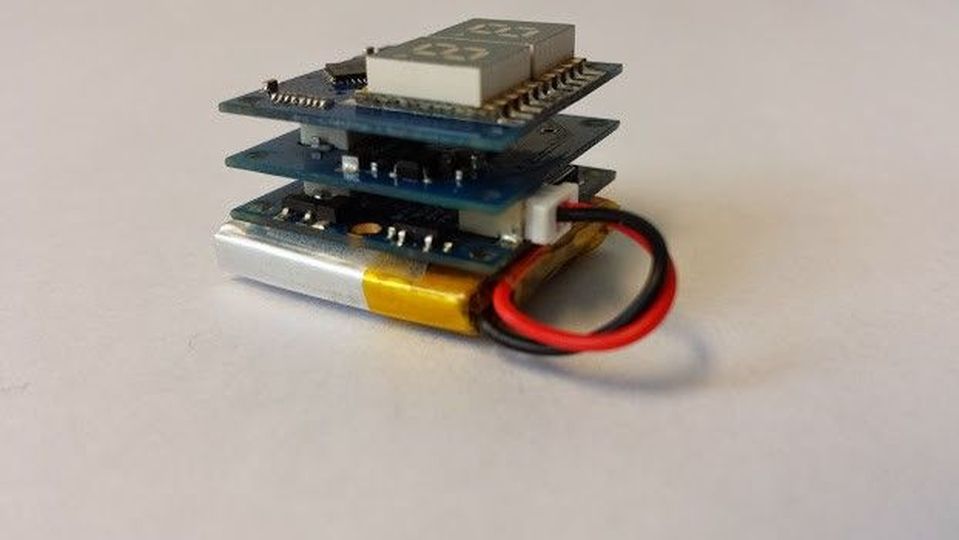
We got the board assembled and programmed, so lets watch it work! If you have the TinyDuino with the coin cell battery or a 3.3V to 5V battery with a JST SH 2 pin male connector, the Inclinometer will be able to run on its own. If you don't have any batteries hooked up, that's fine too! It will work just fine while plugged in with the USB, you will just have a limited range of mobility. With all that said and done, we now have a fully operational Inclinometer!
|
Share the build
|
|
Content by TinyCircuits. Used under BY-NC-SA Licence. Changes were made to the original content. This content is not created nor endorsed by Ernest.

